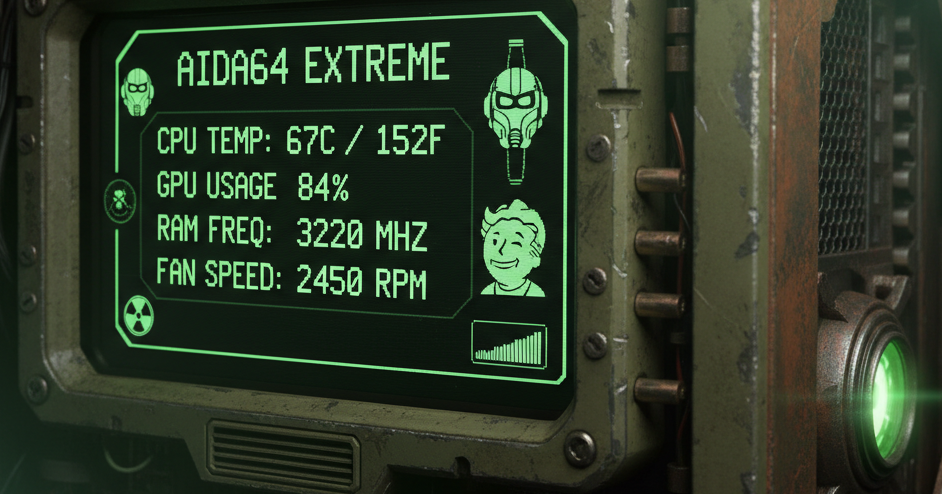
This page aims to showcase the project I created for a AIDA64 Extreme Sensorpanel. I tried to strike a good balance between readability and completeness of information (at least the information I wanted to keep an eye on).
Obviously, the first step for anyone who wants to try their hand at this kind of project, rather than studying and interpreting the parameters and settings to be made on AIDA64, is to analyze what the community has made available and freely downloadable from the internet.
The reference site, needless to say, is the AIDA64 forum and the channel/thread of all users who have published their version and download package of their Sensorpanels, namely: Share Your Sensorpanel
Starting from specific needs and the desire to modify something already prepared, there are several points to consider when adding items to your Sensorpanel.
1. First-of-all good-to-know rule
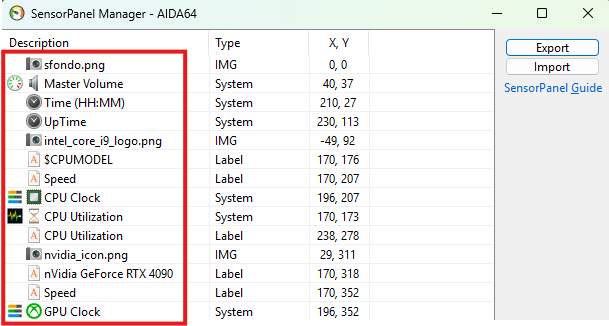
First of all, it is essential to know that in the Sensorpanel Manager window (CTRL+M as a shortcut), the order in which the various items are inserted (whether images, text, sensors, etc.) is always from top to bottom, and those at the bottom take priority over those at the top. In other words, they are “above” those higher up. If you take this screenshot, for example, note that the panel background is the first image at the top and should always be left as the first item, so that everything you insert afterwards is above the background and visible:
2. Generic rules
First: each object you insert can be moved either by right-clicking on the object itself (if you have “selected” the correct object, the program will highlight it with a dotted line around it) and choosing “Move…” or via the Sensorpanel Manager, which is more precise because once you have selected your object, you can move it by as little as 1, 5, or 10 pixels (up to 200).
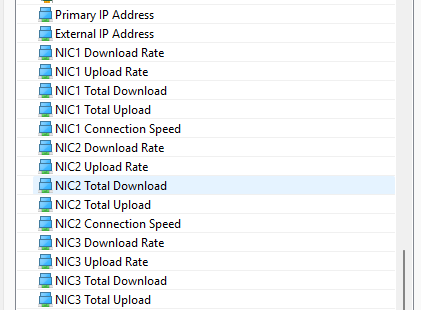
Second: you have to try different options… OK, I know that’s a bad thing to say on a page that is supposed to serve as a guide, but unfortunately the system offers AIDA64 multiple versions of sensors/info that are detected by the program and included in the list of available sensors to display, but which are not connected to anything at all:
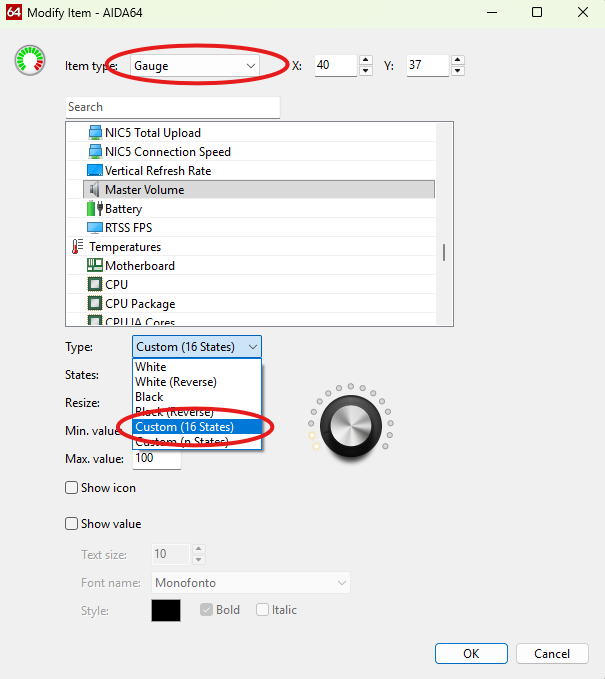
3. Gauges
There is a wide range of options for inclusion in the Sensorpanel, from simple descriptive text fields to information on network status and power output, and they are all more or less intuitive after a few attempts (among those to be chosen “correctly,” as indicated above in the second point, to those where you have to choose how extensive to make them in order to have a clear and indicative peak usage, such as CPU usage), but a separate chapter must be written for the “gauges”
The so-called “gauges” are special sensors for which, based on their use and a scale of values that you can specify in their setup, you will need to assign 16 images that show a sort of progression of the image itself. The numbers range from 0 to 15 and allow you to indicate the usage status of a specific object. In my case, I used them for the temperature and speed sensors of the water pump and for the audio volume knob:

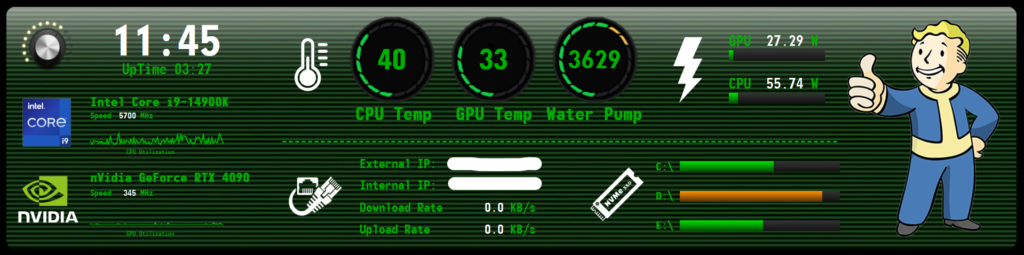
With all this information at your disposal, you should be able to create your own Sensorpanel without difficulty (even if the process is long, it will still be rewarding). And finally, here is my Sensorpanel for you to download, in case you want to use it (internal monitor with 1920×480 pixels):
The Error404-End
Discover more from errore404
Subscribe to get the latest posts sent to your email.